Let's use TinyMCE!
This is Kaneda from Development! In this article, we'll use TinyMCE toHow to paste and upload an imageHow do you upload images to TinyMCE? There are many people who know how to solve this problem, but I myself didn't know how to do it until recently, and I couldn't find any Japanese article.
I thought some of you might have the same problem as me, so I'll introduce this as information sharing. If you are using a modern browser, you can upload images by drag and drop in tinyMCE.
Click here for table of contents
- 1. what is TinyMCE
- 2. paste and upload the image using TinyMCE
- 3. summary
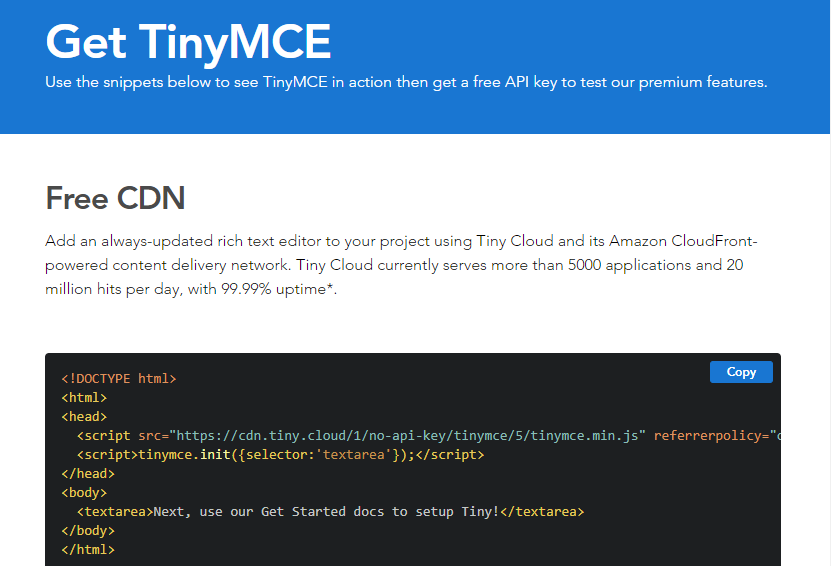
What is TinyMCE?
TinyMCE stands for Tiny Moxiecode Content Editor. It's a library of editors that allow you to edit text as you see it, just like a blog or Word. To explain it simplyIt's an editor that allows you to edit on the same screen as it actually looks.Thus, you can create a decorated web page without typing any HTML tags.
Using TinyMCE to paste and upload images
tinymce.init({})
and just call the server-side API for storing images!
Specifically.
      init_instance_callback: editor => {
        editor.on('drop', event => {
          const file = event.dataTransfer.files[0];
          editor.on('Change', () => {
            if (file ! = undefined && file ! = null && file.name ! = '') {
              const doc = editor.getDoc();
              const imgs = Array.from(doc.images);
              // const len = imgs.length;
              imgs.forEach(img => {
                if (img.src.match(/^blob/) || img.currentSrc.match(/^blob/)) {
                  fetch(img.src)
                    .then(response => {
                      return response.blob();
                    })
                    .then(blob => {
                      const fData = new FormData();
                      fData.append('image', blob, file.name);
                      fetch(
                          URL of the API that handles the upload process here, // * The return value of the API should be "{"result": "image URL"}".
                        {
                          method: 'POST',
                          body: fData
                        }
                      )
                        .then(response => {
                          return response.json();
                        })
                        .then(json => {
                          img.src = json.result; // this "img" object is inserted<img>Since it is a tag, you can add "class", "data-caption", or whatever you like.
                        });
                    });
                }
              });
            }
          });
        });
      }
I'll skip the API side implementation this time. The pasted image can be enlarged, reduced, and rotated by mouse operation.
summary
In this article, I introduced how to paste and upload images using TinyMCE, although it is simple. Thank you very much for reading this article.